Windows.Graphics.Capture
WinRT API로 제공됩니다. C++ 언어로 WinRT API를 호출하는 방법에는 여러 가지가 있지만, 여기서는 최신 기술인 C++/WinRT를 사용합니다.
- Apartment Threaded 초기화
기본 UI 스레드를 STA로 설정합니다. STA로 하지 않으면 후술하는 피커가 제대로 동작하지 않기 때문에 co_await원래의 thread로 돌아오지 않는 등 언젠가의 불편이 생깁니다.
init_apartment(apartment_type::single_threaded);- GraphicsCaptureItem 만들기
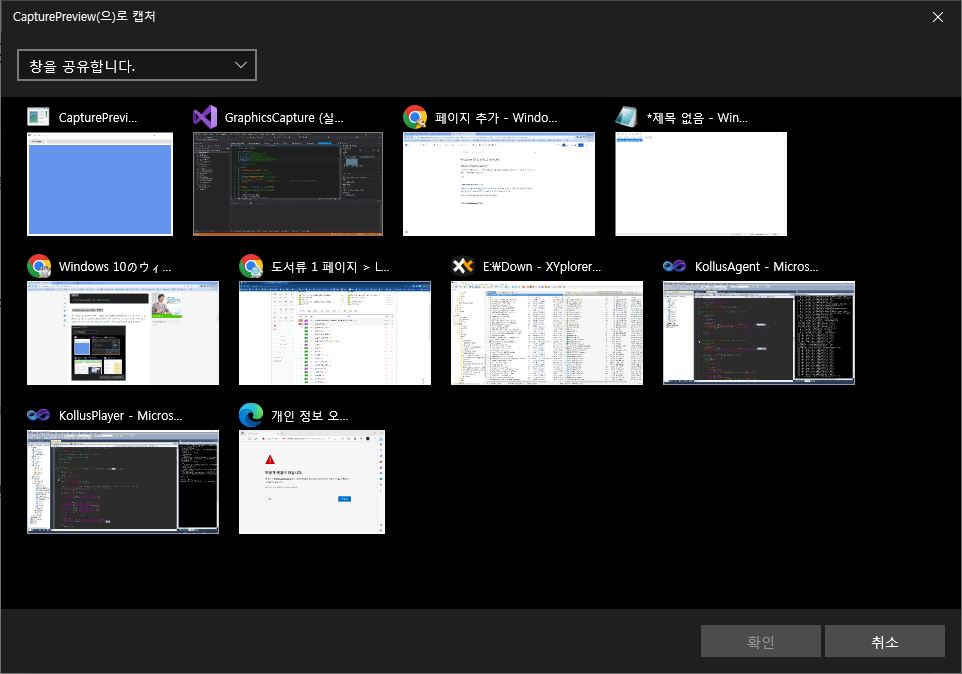
우선 캡처 대상이 되는 윈도우 혹은 모니터를 지정한 GraphicsCaptureItem오브젝트를 작성합니다. 이것은 전용 선택기입니다 GraphicsCapturePicker시작하고 얻는 것이 가장 쉽습니다. 이렇게하면 응용 프로그램 창과 모니터 목록이 모달 대화 상자에 표시되어 사용자 자신에게 선택을 요청할 수 있습니다.
void CaptureView::OnFrameArrived(
    Direct3D11CaptureFramePool const& sender,
    winrt::Windows::Foundation::IInspectable const& args)
{
    auto frame = sender.TryGetNextFrame();
    auto frameSurface = GetDXGIInterfaceFromObject<::ID3D11Texture2D>(frame.Surface());
    auto contentSize = frame.ContentSize();
 }
UWP 앱은 단순히 기본 생성자에서 인스턴스를 만드는 것만으로 작동하지만 데스크톱 앱의 경우 메서드를 호출하기 전에 인터페이스를 통해 소유자 창을 수동으로 설정해야 GraphicsCapturePicker.PickSingleItemAsync합니다 ::IInitializeWithWindow.
PickSingleItemAsync는 이름대로 WinRT 비동기 함수입니다. 이것들은 반환값이 비동기 조작의 형태로 랩 되고 있어 실제의 값을 취득하려면 C++/CX라면의 연속 체인등으로 기술할 필요가 있었습니다만, C++/WinRT에서는 C++20 concurrency::task의 코루틴 확장에 준거한 어댑터 등이 실장되고 있어, 좋은 느낌에 낯설음의 async/await풍에 기술할 수 있게 되어 있습니다.
데스크톱 앱의 경우 창 핸들이나 모니터 핸들을 전달하여 직접 GraphicsCaptureItem만들 수도 있습니다.
auto CreateCaptureItemForWindow(HWND hwnd)
{
  namespace abi = ABI::Windows::Graphics::Capture;

  auto factory = get_activation_factory<GraphicsCaptureItem>();
  auto interop = factory.as<::IGraphicsCaptureItemInterop>();
  GraphicsCaptureItem item{ nullptr };
  check_hresult(interop->CreateForWindow(hwnd, guid_of<abi::IGraphicsCaptureItem>(), reinterpret_cast<void**>(put_abi(item))));
  return item;
}- Direct3D11CaptureFramePool 만들기
OS에서 캡처 이미지를 받고 앱 측에 전달해주는 것이입니다 Direct3D11CaptureFramePool. 이름 그대로 Direct3D 11을 기반으로 하며, Direct3D 11의 디바이스와 버퍼의 포맷이나 사이즈를 지정해 작성합니다.
여기서 C++에서 Direct3D 디바이스를 건네주는 방법입니다만, 모든 언어로부터 호출할 수 있도록(듯이) 하는 WinRT에는 예를 들어 인터페이스 포인터를에 할당해 인수로서 건네주는 것 같은 잡음(?) 시그니쳐는 없습니다 IntPtr. 대신 상호 운용을 위한 Windows.Graphics.DirectX.Direct3D11.IDirect3DDevice형식이 WinRT에 정의되어 있으므로 이것을 중개합니다.
네이티브와의 ::ID3D11Device상호 Windows.Graphics.DirectX.Direct3D11.IDirect3DDevice변환에는 헬퍼가 되는 인터페이스나 함수가 Windows SDK에 정의되고 있습니다. ::CreateDirect3D11DeviceFromDXGIDevice그리고 ::Windows::Graphics::DirectX::Direct3D11::IDirect3DDxgiInterfaceAccess그것에 해당합니다.
auto CreateDirect3DDevice()
{
    UINT createDeviceFlags = D3D11_CREATE_DEVICE_BGRA_SUPPORT;
#ifdef _DEBUG
    createDeviceFlags |= D3D11_CREATE_DEVICE_DEBUG;
#endif
    com_ptr<ID3D11Device> d3dDevice;
    check_hresult(D3D11CreateDevice(
        nullptr,
        D3D_DRIVER_TYPE_HARDWARE,
        nullptr,
        createDeviceFlags,
        nullptr,
        0,
        D3D11_SDK_VERSION,
        d3dDevice.put(),
        nullptr,
        nullptr));

    auto dxgiDevice = d3dDevice.as<IDXGIDevice>();
    com_ptr<::IInspectable> device;
    check_hresult(::CreateDirect3D11DeviceFromDXGIDevice(dxgiDevice.get(), device.put()));
    return device.as<winrt::Windows::Graphics::DirectX::Direct3D11::IDirect3DDevice>();
}

template <typename T>
auto GetDXGIInterfaceFromObject(winrt::Windows::Foundation::IInspectable const& object)
{
    auto access = object.as<::Windows::Graphics::DirectX::Direct3D11::IDirect3DDxgiInterfaceAccess>();
    com_ptr<T> result;
    check_hresult(access->GetInterface(guid_of<T>(), result.put_void()));
    return result;
}
왠지 이미 Win32의 타입인가 WinRT의 타입인가 C++/WinRT의 타입인지 이유가 모르게 되어 네요. 드물게, 당신이 Windows.Graphics.DirectX.Direct3D11.IDirect3DDevice얻을 수 있으면 Direct3D11CaptureFramePool만들 수 있습니다.
_framePool = Direct3D11CaptureFramePool::Create(
     _device,
     DirectXPixelFormat::B8G8R8A8UIntNormalized,
     2,
     item.Size());

_frameArrived = _framePool.FrameArrived(auto_revoke, { this, &CaptureView::OnFrameArrived });
버퍼의 사이즈는 자유롭게 결정됩니다만, 캡쳐 대상이 되는 윈도우보다 작아도 우선 의미가 없기 때문에 프로퍼티와 같게 하면 좋을 것입니다 GraphicsCaptureItem.Size.
Direct3D11CaptureFramePool.FrameArrived의 부분은 C++/WinRT류의 이벤트 등록입니다. 토큰을 돌려주는 패턴과 이 리보커를 돌려주는 패턴이 있습니다만, 리보커 쪽이 결합이 느슨해 소멸자로 접속 해제해 주기 때문에 추천입니다.
캡처 시작
_captureSession = _framePool.CreateCaptureSession(item);
_captureSession.StartCapture();
Direct3D11CaptureFramePool.CreateSession에 GraphicsCaptureItem전달을 GraphicsCaptureSession얻는 GraphicsCaptureSession.StartCapture방법으로 실제 캡처가 시작됩니다.
- Direct3D11CaptureFramePool.FrameArrived 이벤트
캡처를 시작하면 Direct3D11CaptureFramePool에 캡처 프레임이 도착하여 사용할 수 있게 되면 Direct3D11CaptureFramePool.FrameArrived이벤트가 발행됩니다. 시도한 환경에서 대상 창 자체의 렌더링 빈도에 관계없이 vsync 간격으로 게시되었습니다.
덧붙여서, Direct3D11CaptureFramePool.Create메소드로 작성했을 경우 FrameArrived이벤트는 작성원과 같은 thread (UI thread)로부터 불려 갑니다. 독자적인 thread를 만들어 거기로부터 FrameArrived이벤트가 발행되는 Direct3D11CaptureFramePool.CreateFreeThreaded메소드도 존재합니다.
void CaptureView::OnFrameArrived(
    Direct3D11CaptureFramePool const& sender,
    winrt::Windows::Foundation::IInspectable const& args)
{
    auto frame = sender.TryGetNextFrame();
    auto frameSurface = GetDXGIInterfaceFromObject<::ID3D11Texture2D>(frame.Surface());
    auto contentSize = frame.ContentSize();
}
OnFrameArrived이벤트에도 인수는 있습니다만, 왠지 목적의 이미지는 발행원의 Direct3D11CaptureFramePool메소드 TryGetNextFrame로부터 취득하는 흐름이 되는 것 같습니다. Direct3D11CaptureFrame.Surface속성에서 Windows.Graphics.DirectX.Direct3D11.IDirect3DSurface가져오고 앞에서 설명한 도우미를 통해 ::ID3D11Texture2D액세스할 수 있습니다. D3D11_BIND_SHADER_RESOURCE도 할당되어 있으므로 셰이더의 입력으로 취급할 수 있습니다.
캡처하는 동안 대상 창의 크기가 변경되면 어떻게됩니까? 하지만, 이것은 수동으로 Direct3D11CaptureFramePool버퍼를 다시 만들고 추종해야합니다.
    auto surfaceDesc = frame.Surface().Description();
    auto itemSize = _captureItem.Size();
    if (itemSize.Width != surfaceDesc.Width || itemSize.Height != surfaceDesc.Height) {
        SizeInt32 size;
        size.Width = std::max(itemSize.Width, 1);
        size.Height = std::max(itemSize.Height, 1);
        _framePool.Recreate(_device, DirectXPixelFormat::B8G8R8A8UIntNormalized, 2, size);
    }
재작성을 위한 Direct3D11CaptureFramePool.Recreate메소드가 있으므로 캡처 세션을 중지하지 않고 버퍼 크기를 변경할 수 있습니다.
'코딩' 카테고리의 다른 글
| Console 숨기기(백그라운드 실행) (0) | 2023.04.07 |
|---|---|
| Makefile 만들기 (0) | 2023.03.31 |
| MFC에서 오류나는 것 받아 볼 수 있는 방법 (0) | 2023.03.17 |


